Very interesting topic! 8) MOOOOOOG!
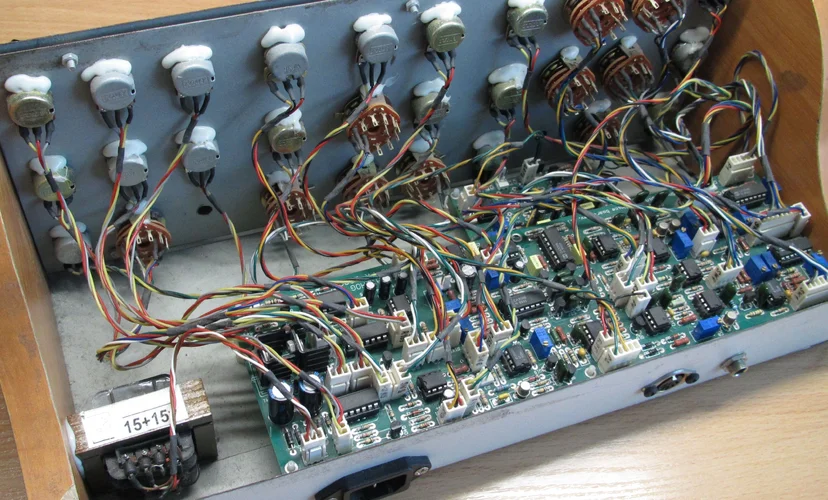
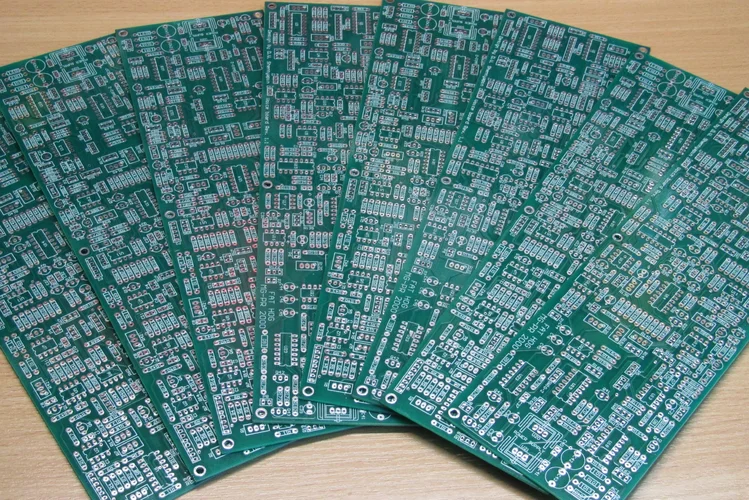
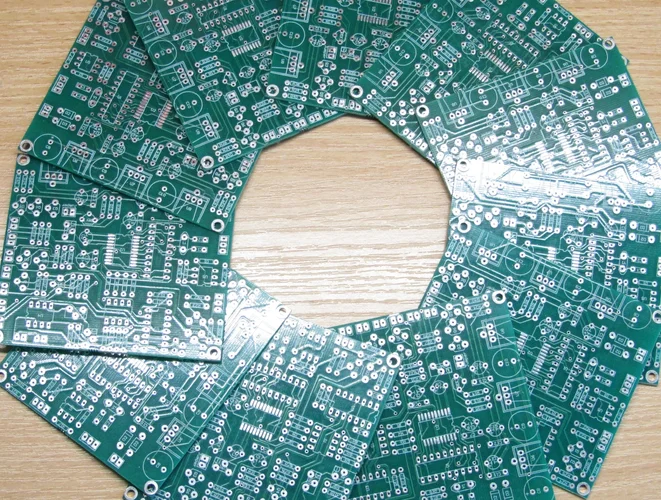
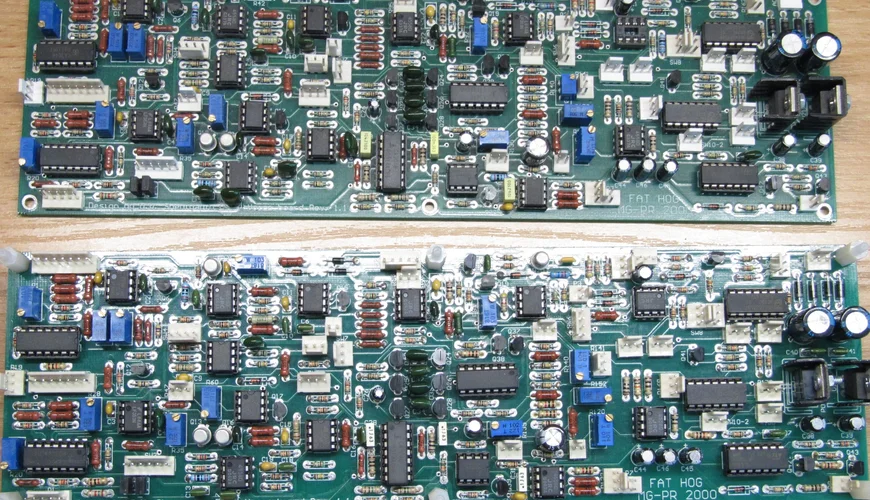
Fully assembled and tuned printed circuit board!
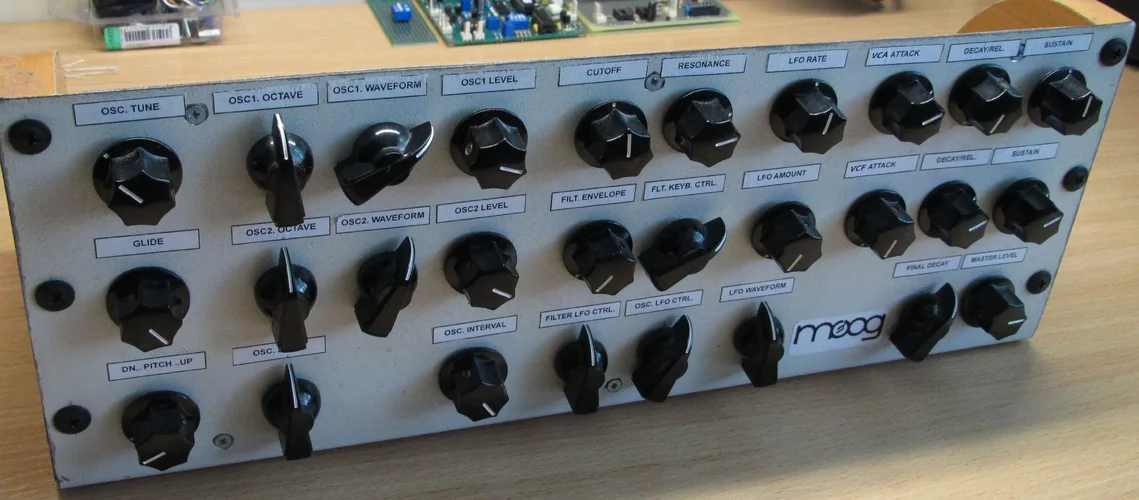
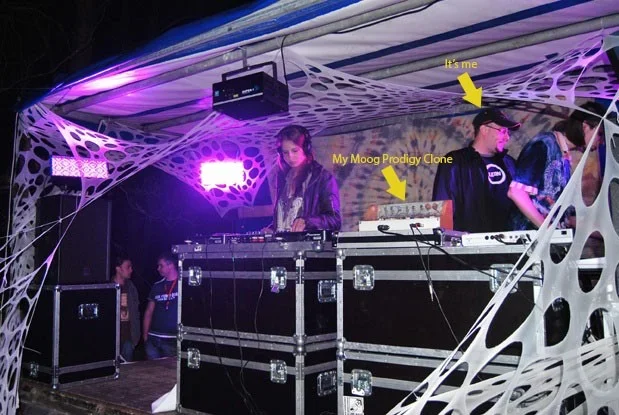
For the home studio, make yourself a legendary synthesizer MOOG PRODIGY.
100% beautiful analogue sound and original schematics.
- 2 voltage controlled oscillators
- Classic MOOG Ladder filter
- LFO
- 2 ADSR
- VCA
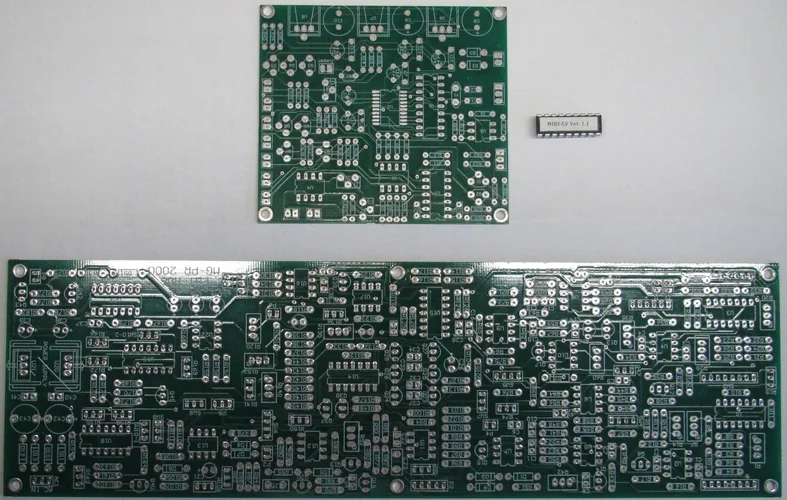
Included:
- Connectors for PCB
- Connection diagram, documentation.
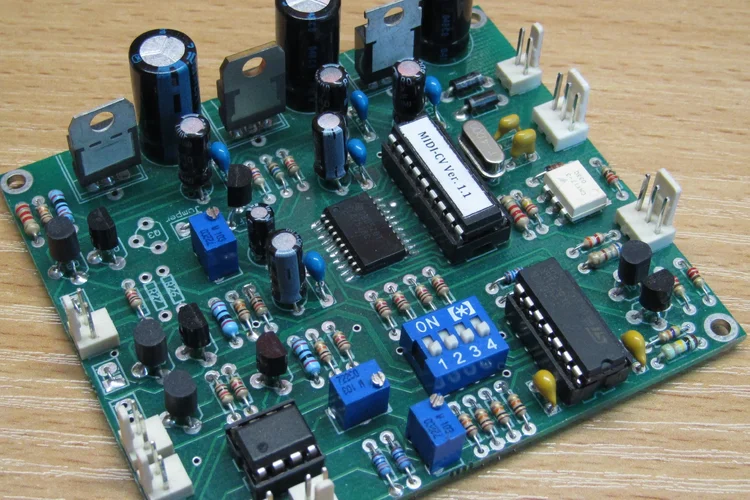
Recommended optional MIDI interface:
MIDI to CV Convertor DIY assembled PCB kit
Links:
http://www.ebay.com/itm/191587209530?ss ... 1555.l2649
http://www.ebay.com/itm/191587209409?ss ... 1555.l2649
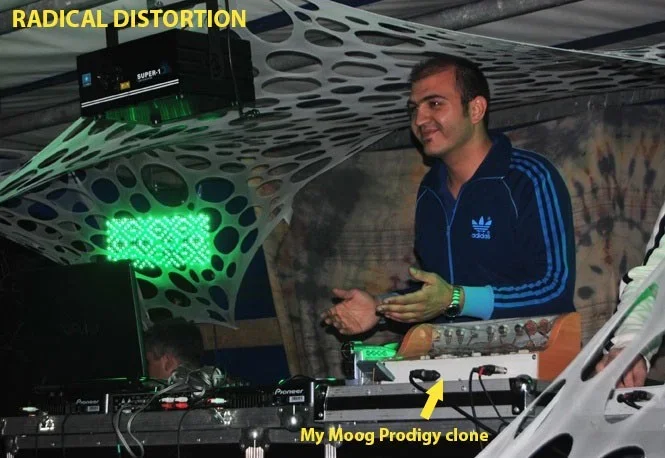
Fully assembled and tuned printed circuit board!
For the home studio, make yourself a legendary synthesizer MOOG PRODIGY.
100% beautiful analogue sound and original schematics.
- 2 voltage controlled oscillators
- Classic MOOG Ladder filter
- LFO
- 2 ADSR
- VCA
Included:
- Connectors for PCB
- Connection diagram, documentation.
Recommended optional MIDI interface:
MIDI to CV Convertor DIY assembled PCB kit
Links:
http://www.ebay.com/itm/191587209530?ss ... 1555.l2649
http://www.ebay.com/itm/191587209409?ss ... 1555.l2649